Looking good, Eric! The pain of learning 3D modeling seems sooooo much easier when you have virtually instant feedback from a printer. Even with its flaws, you can't ignore the benefits of being able to print up conceptual pieces, templates, and in many cases finished parts. I could kick myself for shunning 3D printers for so long.
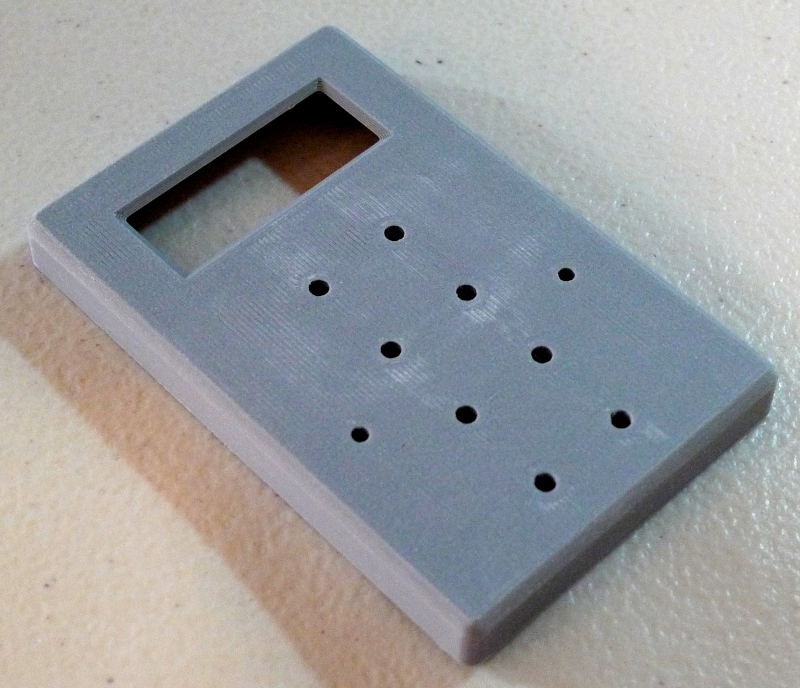
1. Since it probably won't end up being a 100% solid part (i.e. it will have infill), specifying where each hole goes is fairly important, as the 3D printing process can reinforce these areas.
Sometimes it's just easier to print solid so you can drill and fit things on a draft print, then measure your features and update the model. Usually when I get to the point of detailing or making things that mate I start getting itchy to get something printed without fully thinking through the fine points (such as hole placements).
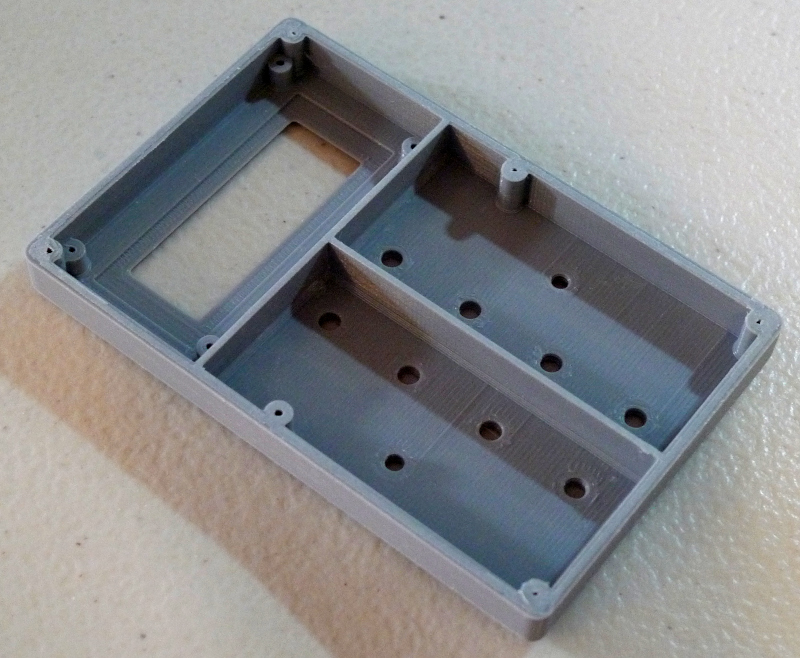
2. I'm thinking more and more that these parts (the LED tuner would be housed in a separate doghouse) could function much like the pickguard on an electric guitar: hide the huge nasty cutaway behind it, while providing access to it. That would mean, I believe, through holes on the front, with bolt heads showing. The Theremin main body could then be an otherwise sealed box.
That's a good approach. Keep the back enclosure (wood box or whatever) simple and put the details into the configurable and easily reproduced printed front panel. Another thing to think about is making the panel itself three dimensional. Although individually you can only print flat-faced surfaces, nothing says that you can't build up a front panel from multiple pieces. Think of something like a Moog synthesizer, where instead of silk screened borders delineating functional divisions on the front panel you break these areas up into separate elevated panels or islands on a larger back panel. Aesthetic design features and trims can be added where the elements can be made from different materials using print patterns that work best for that individual part alone.
4. Roger says paint goes a long way towards hiding the 3D printing telltales (many otherwise pristine molded parts also end up painted).
Yes, but there is a problem that is not unique to painting rough 3D printed parts. Any surface that has imperfections such as pinholes, or lines in the case of 3D printed parts, does not readily accept paint to form a nice smooth surface, particularly if sprayed. The surface tension of paint tends to make it crawl up on the islands and avoid filling holes or grooves, so instead of flowing out and filling imperfections it tends to aggravate those flaws. If you've ever tried to spray a finish onto some open-grained wood like mahogany or oak you will know what this is like.
There are a few ways around this. Unless you are dealing with a flat or highly organic printed shape, sanding the surface to smooth it very much is not practical. Plus PLA and PETG don't sand (or machine) well because the heat makes the material gummy.
It is easier to fill the voids in the material so that the fluid paint is given a chance to flow out and level rather than crawl up into islands due to surface tension. You can do this by brushing on a first coat of sandable sealer, since this is much more effective at filling voids than spraying.
Another spray-only method involves the use of high-solids paint applied in very dry building coats, so dry that flow and surface tension never come into play. A few of these dry coats will actually begin to bridge the surface gaps, and with that a normal flowing series of final coats can be applied.
Thirdly, a high-solids paint can be applied in multiple heavy wet coats and the voids will eventually fill, although this will take more paint and can cause some loss of definition around details and at edges. Paints like hammertone and some of the new textured finishes can hide a lot. I've recently experimented with textured truck bed liner paint, and it works really well for some less detailed parts.
Fortunately, there is no real need to seek out special paints for plastics. Tooth adhesion to the 3D printed surface precludes any bonding issues from what I have seen.
5. The part looks rather aesthetically uninteresting? No matter what they tell you, it's always a beauty contest.
Yes, but adding curves and interesting design elements in the cad model is easy, and for fabrication the printer doesn't care - it is a most compliant employee!


 squeeky - though I wonder, is it just the maybe not entirely intuitive result of modulating the clarinet sound with the vocal sound, or is there more going on...